Nixos on Renegade
Having a Librecomputer Renegade lying around, I wanted to install NixOS on it to do some lighter stuff on my network (like a simple DNS and a reverse proxy for various webservices running on a different host). The board itself is a bit dated, but the hardware is decent for an SBC, with my model having 4GB of memory and four Cortex-A53 cores, each with 1.4GHz maximum frequency. Maybe more important however are its Cryptography Extensions, which this model does have. This should help with throughput, as I’m using it as a reverse proxy that has TLS enabled. With less than 2W of power draw under idle, this is a very enticing device, especially at the price point of 53 Euroes; this was including shipping from the US. I had initially ordered it as a gift in December of last year. Nowadays, you’re probably better off with a newer device, though power draw might be worse, and is kind of important in my case because I have the device attached to my router.
Apart from the bootloader, this board should be fully supported by upstream, which is nice.
Unfortunately, I couldn’t get the image that I created according to the official NixOS wiki to boot. The board itself however worked, as official images booted without issues. Using an image from https://github.com/Mic92/nixos-aarch64-images also didn’t work. It seemed like any U-Boot in the official repositories are unable to boot the board.
As a foreword, nothing in here is the “best” way to do things, as in there’s probably room for improvement. Linux and nix knowledge is required; this isn’t a full tutorial on how to write a nixOS configuration.

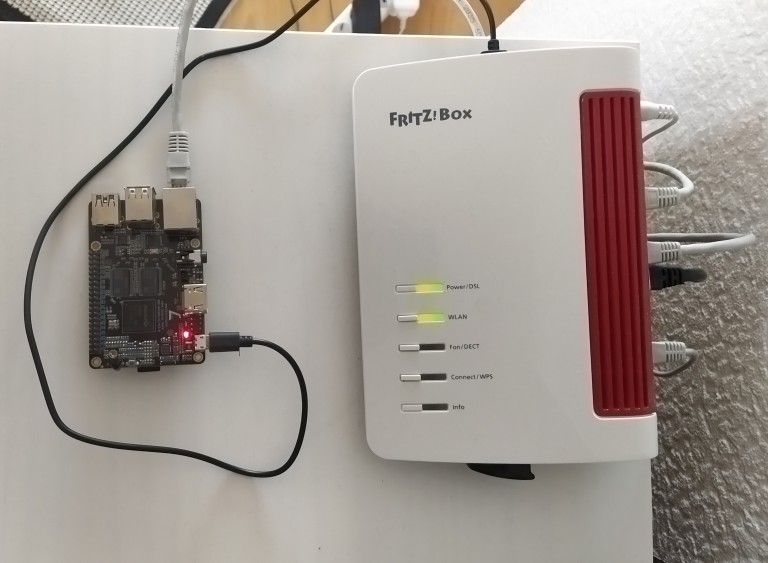
The setup in action, or rather an excuse for me to insert an image.
Building the image yourself
Contrary to what the official wiki page could make you believe, there is no need to define a special system for the image. You can just define a NixOS system as you usually would and use that configuration to build the image. Which case makes more sense depends on your setup; with only one device that only has a reasonable number of services, it’s reasonable to create a full image and put it in the store. With a fleet, that approach quickly becomes unreasonable.
First things first
However, to build an aarch-64 image on a non-aarch64 host, you need to either cross-compile or provide binary format compatibility via emulation. I opted for the latter as cross-compilation isn’t always perfect and I don’t need to build a lot of huge packages, so I’m fine with the overhead.
Adding
1boot.binfmt.emulatedSystems = [ "aarch64-linux" ];to your main system from where the SBC is managed (in case it’s not aarch64-linux already) is enough.
Defining the system
Defining the system is no different from any other NixOS configuration. However, if you don’t want to tune some necessary things yourself, you should add
1"${inputs.nixpkgs}/nixos/modules/installer/sd-card/sd-image-aarch64.nix"to the imports of the system you want to deploy (NOT the host you’re building on). This creates a firmware partition, though the firmware itself isn’t required for this board, but some space before the root partition is required to write the bootloader to, sets the system’s architecture to aarch64-linux and creates a service that expands the main partition to the remaining size of the medium it’s on.
Adding the bootloader
Librecomputer provides U-Boot builds for all their devices at https://boot.libre.computer/ci/. Theoretically, you could just build the image as usual, write it to an SD card and then write the bootloader to that card manually, which is what I did first. However, it’d be much more convenient and in line with nix to generate the correct image in one go. Let’s apply the method from the wiki with Librecomputer’s hosted bootloader:
1  sdImage.postBuildCommands = let
2    rk3328-uboot = fetchurl {
3      url = "https://boot.libre.computer/ci/roc-rk3328-cc";
4      hash = "sha256-Y5yMmU/LyMVJi94vrYDpBM+4qwUfILwP+gVUToAXteA=";
5    };
6  in
7  ''
8    dd if=${rk3328-uboot} of=$img conv=fsync,notrunc bs=512 seek=64
9  '';
In case you’re wondering where the seek=64 comes from, this is a device-specific offset.
I don’t know where the value is from, except https://github.com/libre-computer-project/libretech-flash-tool/blob/master/lib/bootloader.sh
which contains the required offsets for each of Librecomputer’s boards. notrunc is required to write to a file.
Build the image
The image is then built with a single command:
$ nix build .#nixosConfigurations.$host-identifier.config.system.build.sdImageThe result folder then points to the path in the store that contains the image.
Flash the image
The image is compressed via zstd before it’s added to the store, which is nice since that saves space. You can flash that image to a device with a single command:
# zstdcat -d result/sd-image/image-name.img.zst > /dev/$your-deviceInsert the card into the SBC, and it will boot.
Limitations
Since we’re using the vendor’s version of U-Boot, USB actually works out of the box. Interestingly, the heartbeat LED doesn’t work. According to the documentation, the green LED should blink about once every two seconds (and it does with the vendor-provided image). For the NixOS image however, the LED just turns off after successful U-Boot loading, which is correct, but then stays off. The system boots and works fine though.
In the following posts, we’ll explore what this system can provide in a home network.